by Guest Contributor Amanda Padgett
Hello fellow photography enthusiasts!! I am very excited to be at Pretty today, sharing with you some simple and easy ways to give your image a quick “clean” edit in Photoshop Elements/Photoshop CS5. Keeping editing simple will keep the fun in it, which will give you more time for shooting!
Now, before I start with the edit tutorial, I want to encourage you to get the best possible picture “IN” camera. What does that entail?
- Good focus
- Good exposure
- Good white balance
- Good composition
Editing can make a good picture great but seldom can it make a terrible picture into a good one. Start with a great picture and your editing will be quick and painless!

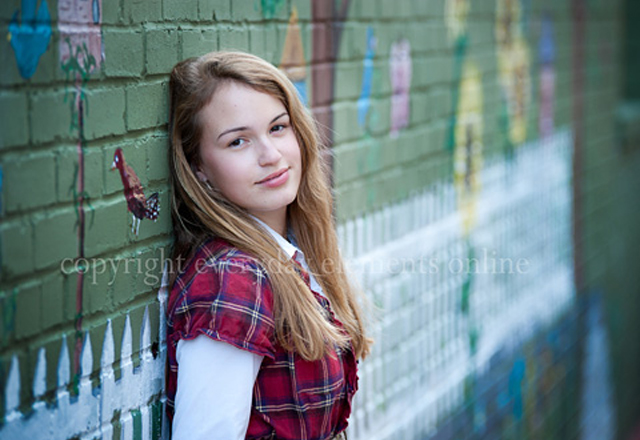
The image we will be working on today is one that has all of the things I listed above except good white balance, but we will fix that. However, even though it is a pretty good image coming straight from the camera, we can do a few things to make it more polished and “clean” it up a bit.
Anytime I start editing an image, whether in Lightroom, Photoshop Elements or Photoshop CS5, I almost always do the following steps:
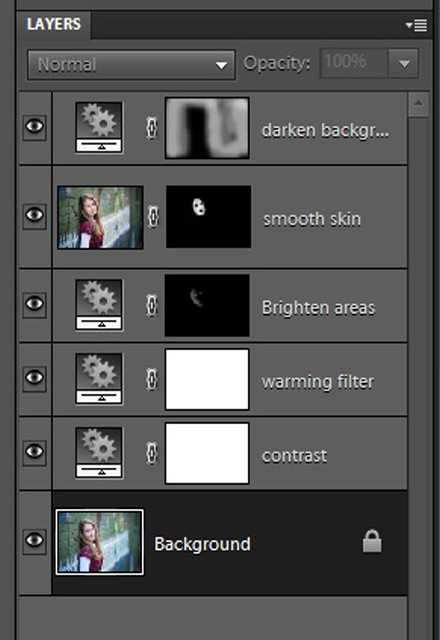
- Exposure & contrast fix – I use Levels (or Curves in CS5) for this tweak
- White balance tweak – Levels is the best for this, using the gray eye dropper, but you can also use a photo filter (as I do in the video)
- Brighten/darken areas – for this, a Brightness/Contrast adjustment layer set to Screen blend mode to brighten, or set to Multiply blend mode to darken. Invert the layer (ctrl/cmmd + i) and brush over areas in need of brightening/darkening.
- Smooth skin – create a pixel stamp (ctrl/cmmd + alt/option + shift + e), then do a blur layer of your choosing, I go between a Median filter or Surface Blur, as I use in the video. Add a mask and invert (ctrl/cmmd + i) and brush only over skin.
- Darken background – one way to do this is a Levels layer, moving the black and gray sliders to the right, then invert and brush only over background.
Here are those same edits, as they would look in your Layers palette:

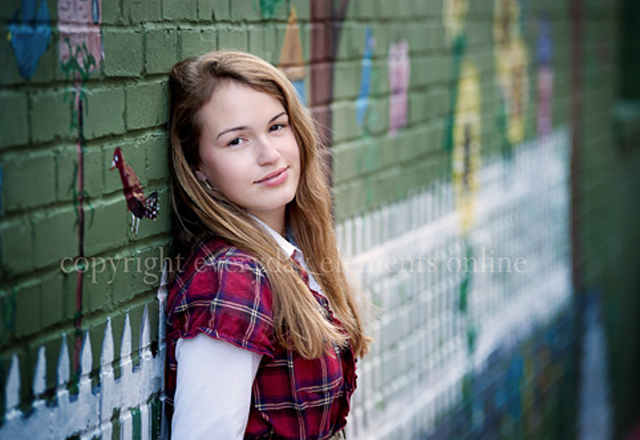
After making these quick changes, I flatten, sharpen (use the sharpening action of your choice, or sharpen as you see fit – I like the High Pass filter for sharpening).

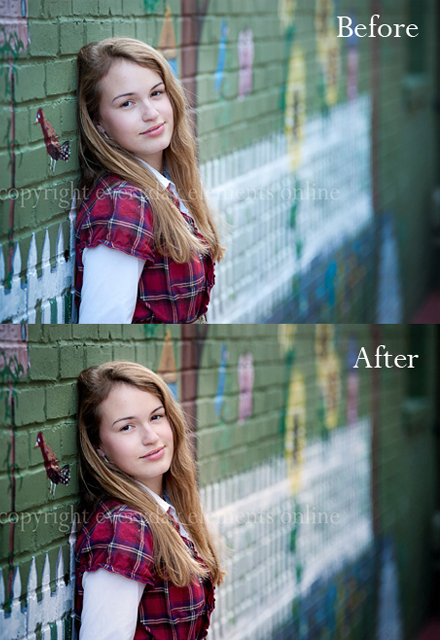
For a side by side comparison of what five quick steps can do:

These steps may seem way to vague if you are new to editing, so below is a video showing these exact steps in PSE and in CS5 (comes last in video).
Now, because practice is the best way to learn and improve, if you like you can download the picture I used in this tutorial and do the steps on your own, following the video, doing each step as I do it. In January, I will begin a weekly work-along tutorial just like this, so please feel free to come visit me at Everyday Elements.
![]()

Hello! I’m Amanda, a quirky, introverted Mom of four, who is passionate about helping others learn their cameras and editing software. I also currently homeschool my four kids, ages 13 to 6, all whom run away when they see me carrying my camera.
Visit me at my WEBSITE and FACEBOOK page!


Those changes made such an impact!! What a fantastic tutorial, thank you!!!
Thank you!
Very helpful info, especially to those of us (myself included) that are new to editing. Thanks for sharing your knowledge!
Hi! Just want you to know that the CS5 video will not play for me. It appears to not even load in my browser, but the PSE video works.
Thx!
Awesome tutorial as always. So easy to follow. Thank you!
Great post, Amanda! A clean edit will go a long way!
Great tutorial! Thank you a million times over!
Hi Amanda, clicked to download picture and it takes me to your flickr image. Not sure how to download from there. Can you let me know. Love to try. GREAT way to try the video!!
Thanks so much! Im coming here from Pinterest! I just got a “big girl” camera and even though I use Photoshop on a daily basis, I need to know more stuff like this! I have only used Photoshop, mostly, for graphic design purposes. 🙂
I am at minute 12 of the video, and stuck where you are turning the layer mask black, then forward slash to make it red… But mine doesn’t turn red… just a darker color and I cannot paint on it. Anyone know how to get the right setting? It worked on layer 2, not on layer 4.
Hi Amanda! Thanks for the great video tutorials. They are really helping me learn to understand PSE when nothing else could!
Thank you so much for this tutorial. I appreciate it so much! Best turtorial I’ve ever found!!
Thank you!
This tutorial is the best one out there..very easy to understand..I use this on my my photos and my photos look bright and clean…Thank you…