by Guest Contributor Misti Tracy from Love That Shot
What makes a photo stand out from the crowd? Is it its unique use of color? Choice of subject matter? Or maybe its awesome post-processing? While it could be any number of these things, chances are, composition has a big part to play in it all. Often times, something as simple as how the photo is composed can make all the difference. Things like depth of field, contrast, negative space, and converging lines, when used to their fullest potential, can greatly increase your photo’s chance of getting noticed.
Here are ten of my favorite tips for mastering composition in your photographs:
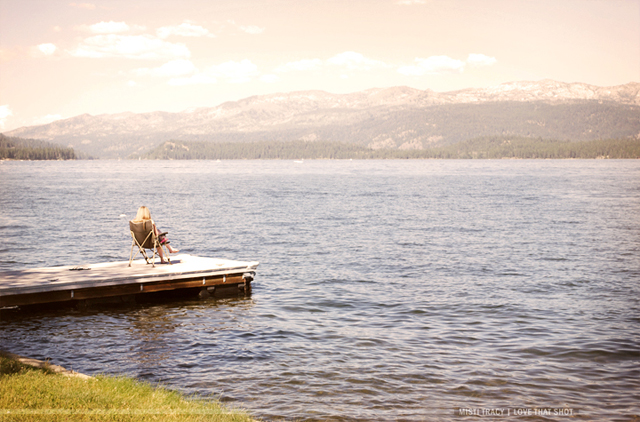
[1] Keep the Horizon Line Straight
This might seem like a common sense, no brainer tip but you may be surprised at how many times it’s overlooked. Sometimes we’re so focused on getting that fabulous shot that we forget about the things in the background that could make or break that perfect shot. Pay close attention to the horizon line behind your subject…even if it’s only slightly visible through trees, houses, etc. Your camera may have a grid or guideline setting to make this easier.
[2] Maximize the Potential of Depth of Field
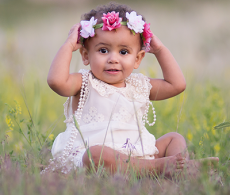
When shooting a photo, especially a portrait, it’s important to make sure the focus is always on your subject. One way to accomplish this is to eliminate any distracting background that could be competing for attention. Using a shallow depth of field will blur the background creating a beautiful bokeh texture, which will frame your subject nicely. Achieving shallow depth of field is easy, just open up your lens as wide as it will go! If you’re lucky enough to have a lens that will open up to the f1.4 range then you’ll have more than enough room to work with. For portraits, I would suggest starting at f2.8, then work from there as you become more comfortable.
Use this technique on your everyday photos as well and transform them from candid to captivating!

Using a kit lens with an aperture of only f5.6? Here’s a trick to maximizing depth of field…
[3] Step Away From the Background
Have your subject move several feet away from the background. This will create the illusion of a wider aperture by creating more space between the subject and background, allowing the available aperture to work its magic and blur what would have been in focus right along with the subject.
[4] Maximize the Potential of Negative Space
Building off of the gorgeous bokeh you’ve created using shallow depth of field in the tips above, try using negative space to direct the eye to the focal point. To do this, experiment with framing your subject to the left or right, rather than smack dab in the middle of your photo.
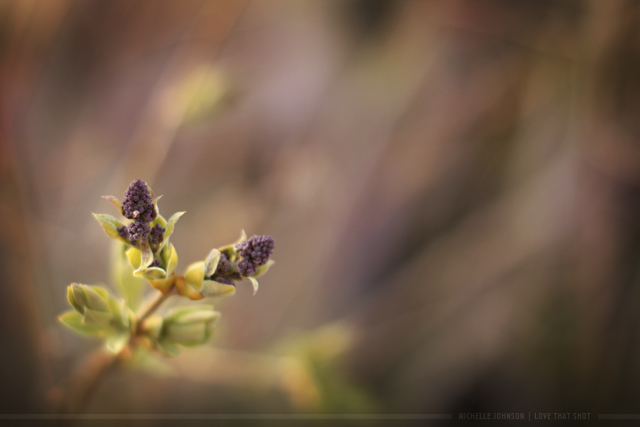
[5] Be Aware of the Background
This may go without saying, but always be aware of what’s going on in the background of your photo. Keep an eye out for anything that could be distracting. If something stands out as unsightly, change your view point, blur the background with depth of field, or have your subject move to a different area.
[6] Move Around
In addition to playing with the placement of your subject in the frame, experiment with different angles. Physically move around. Photograph from above, the side, or even below.

[7] Add Contrast
Use what is in the environment around your subject. Use differences in texture, color, and shapes to create contrast with your subject and the background.
[8] Fill Your Frame
Don’t be afraid to zoom in real close! Don’t have a zoom lens? Then take a step closer. Whether you’re shooting a landscape or a portrait, fill the frame!

[9] Converging Lines
One easy way to direct the eye to your subject or focal point is to look for lines that occur naturally in the scene. Take advantage of perspective lines in roadways, architecture, etc.
[10] Break the Rules!
Now that you’ve learned a few basic tricks, I’m going to totally blow your mind…forget everything! Okay, well not entirely everything. But I do want you to get out there and experiment because hey, rules are meant to be broken, right? The key to being creative and finding your own style is to learn the basics, and find ways to infuse your personality into them. So don’t be afraid to take risks and break the rules!
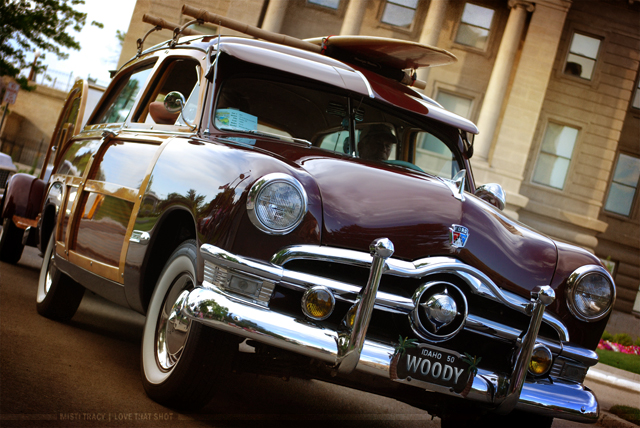
Keep an eye out for “Get Your Photos Noticed” [Part 2], where Michelle will share a few of her secrets to adding the “WOW!” factor! You’re not going to want to miss this one!
![]()
 About the Author: We are Misti and Michelle, sisters and co-founders of Love that Shot. Love that Shot is for the beginner and amateur photographer. We teach you how to use your camera, and edit your photos, so you can improve your photography skills. We’re your first stop along your path to professional photography, if that’s your goal, or we’ll help you make your hobby more enjoyable!
Find us here: Love that Shot | Blog | Facebook | Twitter



Great tips! Thank you so much for sharing.
Great post, great tips! I absolutely love the first shot!
Awesome article with timely tips. Lovely images that illustrate wonderfully your tips! Bravo!
Thank you all so much for your sweet comments! 🙂
GREAT tips. Thanks so much!!