Today we are so honored to welcome Michelle Kane to the Blog. Michelle has generously offered to walk us step by step through her post processing of an image – her “Blueprint” as you will. Special thanks to Michelle for sharing her Rockin’ post-processing skills with us!
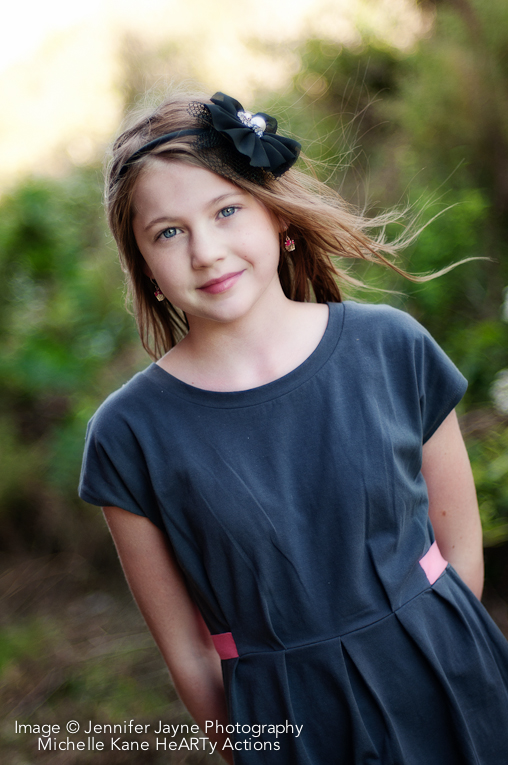
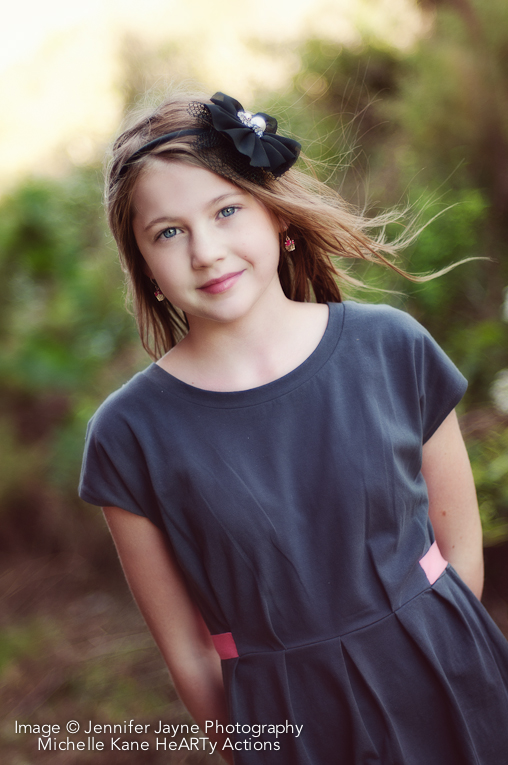
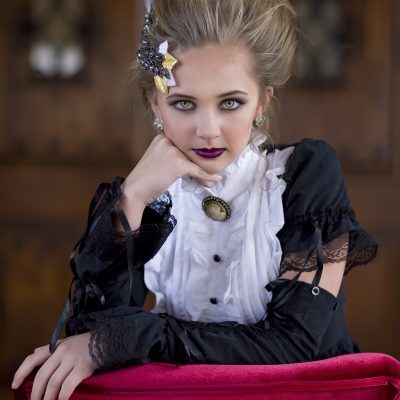
As always, I would normally start any edit in Lightroom to adjust exposure, white balance and make sure my blacks aren’t too dark. However, for those non-RAW editor users, I edited this image completely in Photoshop. The SOOC image is slightly underexposed and the pink tones in the skin need to be addressed first thing. If editing in LR, I would have increased the exposure and possibly the fill light, changed the camera calibration to neutral to help neutralize the pink tones, adjusted the temp and tint sliders for an even, pleasing skin tone and possibly lowered the vibrancy just a few points to again, help reduce the pink from her skin.
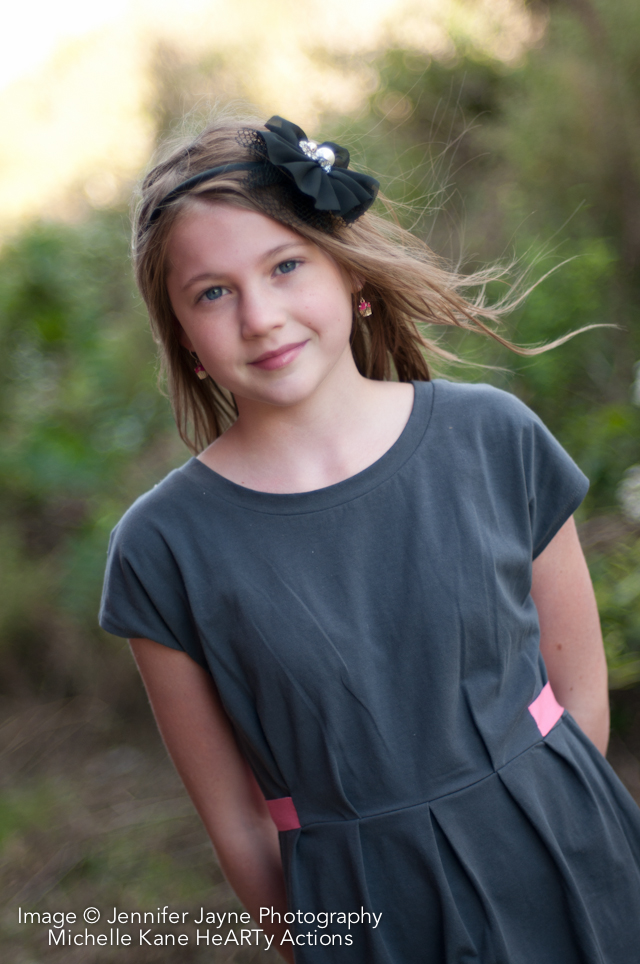
This image was shot by Jennifer Jayne Photography.

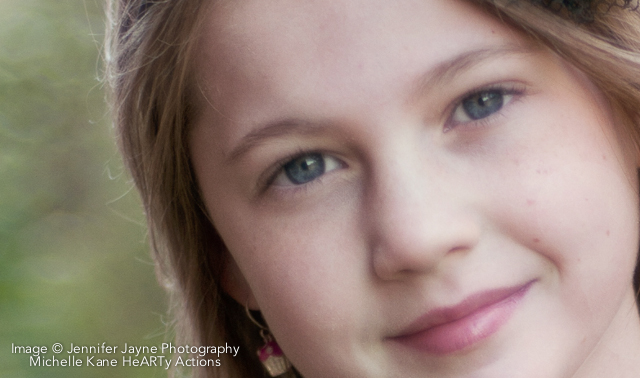
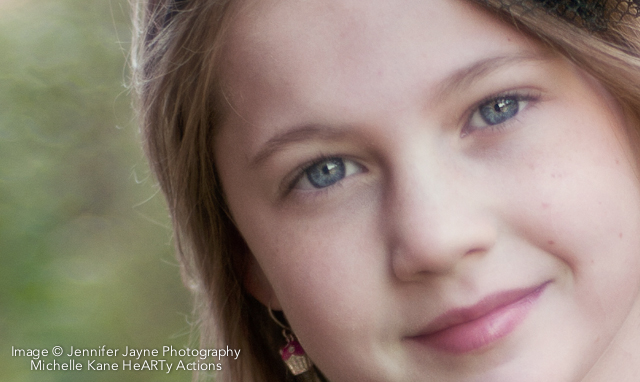
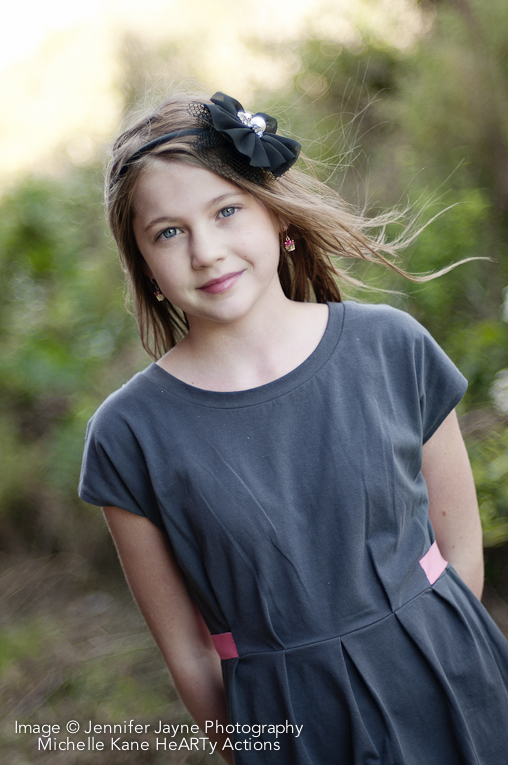









![]()
 About the Author: Michelle Kane resides in Wyoming with her husband and two vibrant children. She is the developer of the incredibly versatile Michelle Kane HeARTy actions, which includes the Creative HeART & HeART & Soul collections. Offering one-on-one photo editing mentoring, she works with photographers from around the globe, helping them fine tune their creative editing and post production workflow.
Visit Michelle at her website Michelle Kane Photography




How long did this process take from start to finish? Do you do this to every shot from a session before showing the clients?
Of the things that you mentioned like “Light All Over” and “Warm Air 50%” I was wondering if these are in Photoshop named this way or if you were just naming them on your own? I would be awesome if you had a video showing us how to use the step-by-step that you provided above. I’ve been dying to learn how to edit better and this is absolutely perfect but I am a visual learning and have been having a hard time understanding it as words without seeing where to go within photoshop and where to click and stuff.
Thanks for doing this…I am going to try my hardest to implement 🙂
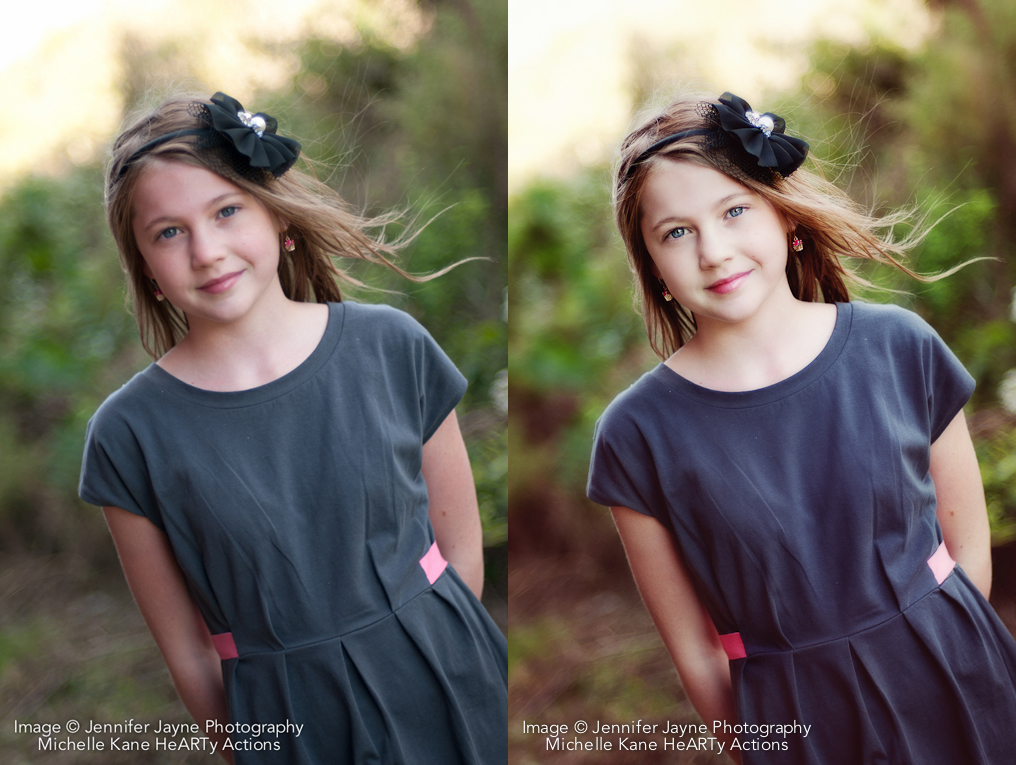
Thank you Michelle for showing us your amazing editing process and some of your actions!! What a stunning transformation in that photo.
Elizabeth, the process took about 5 minutes max. I do the same general things to my images in a very predictable order, so I’m usually not asking myself, where do I start or what do I do next. I show my clients soft proofed images out of LR. Whatever they pick to buy, I fully edit.
Tiffany, this image was edited using my HeARTy actions that I sell. You’d need to have those PS actions to replicate this edit.
These actions rock! I have to say I was a little hesitant in purchasing them because I had just bought new equipment and spent a fortune! But I will say this purchase will not disapoint! I have action sets from other places and while I love them I now use these more than any other! They also still work great when combining with other actions as well. Not only are they easy to use but if you watch michelle’s blog she does a great tutorial through her blue print steps! Another thing I think is great is that on her blog she has an image sooc that she shoot for you to download and then shows the steps of the final edit for you to try and see you can get the same result! I have never seen anyone else do this, and it was a nice treat!
These actions will take your work to the next level!
ps. after reading this I figured I better mention I do not know michelle or work for her in anyway lol! Just am very passionate that these actions area great investment.
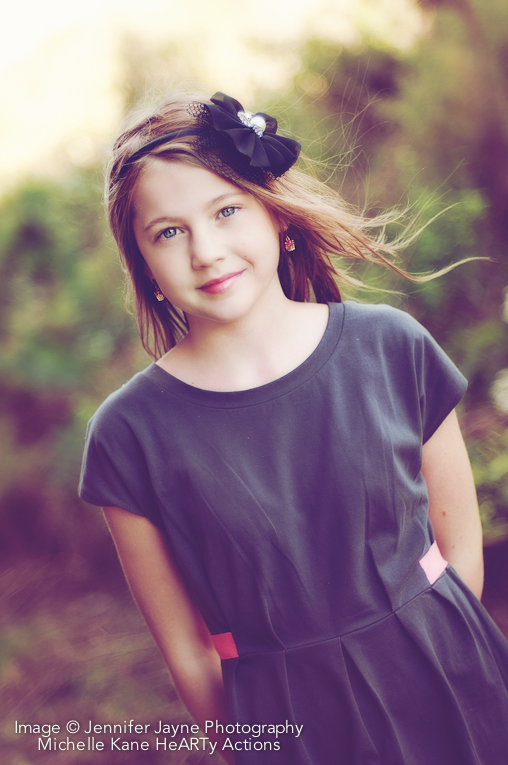
Do you do this edit and then use the different tonal actions? Do you flatten the image before applying the tonal actions?
wow i cannot beleive this only took you about 5 minutes….i’m just learning photoshop(cs5) so i’m hoping in time i’ll be able to purchase your actions as well….i’m not a fast learner but seeing your photos always inspires me to learn that much faster…..
Thank you Sheridan. That’s so awesome to read! I appreciate your fab raves. Cheers to you!!
Dana, I usually always do a base edit: eyes, skin fixes, background, clothes, contrast boost, skin softening, tones. Usually always in that same order. It’s very consistent for me and consistency makes for quick editing. Tones are at the end and no, I don’t flatten first. I never flatten unless I have to actually. And I wrote the actions in such a way that you don’t have to flatten before playing anything. =)
Hi, your actions seem very nice. I am wondering if you use them on other types of images like landscapes and macros? I don’t photograph many people, and am wondering how you would go about using these in those types of images.
Love your actions Michelle!! They are fabulous!
Andie,
Yes, I do use them on all kinds of images. They were not specifically developed for portraits. They are the kind of actions that you combine together, not necessarily play one humongous flattening action and call it good. You are able to get a lot of different effects and looks with them.
Thanks for this post! Michelle, I am wondering if you ever tint the pictures for your clients or if you only offer them the untinted ones. Also, have you considered making actions for PSE?
Your blog is awesome, thankyou.
I’m a huge fan…..love all your products. Would love to win any of your amazing beds. I’m also a memboer of Rock the Shot.