by guest contributor Anna Gay
When it comes to initial editing in Photoshop, adjusting Levels is a great place to start. By adjusting levels, you can correct your shadows, midtones and highlights, as well as increasing or decreasing the overall contrast.
You can manually adjust the sliders in your Levels adjustment panel, but Photoshop also has a handy dropper tool option that will adjust the levels semi-automatically.
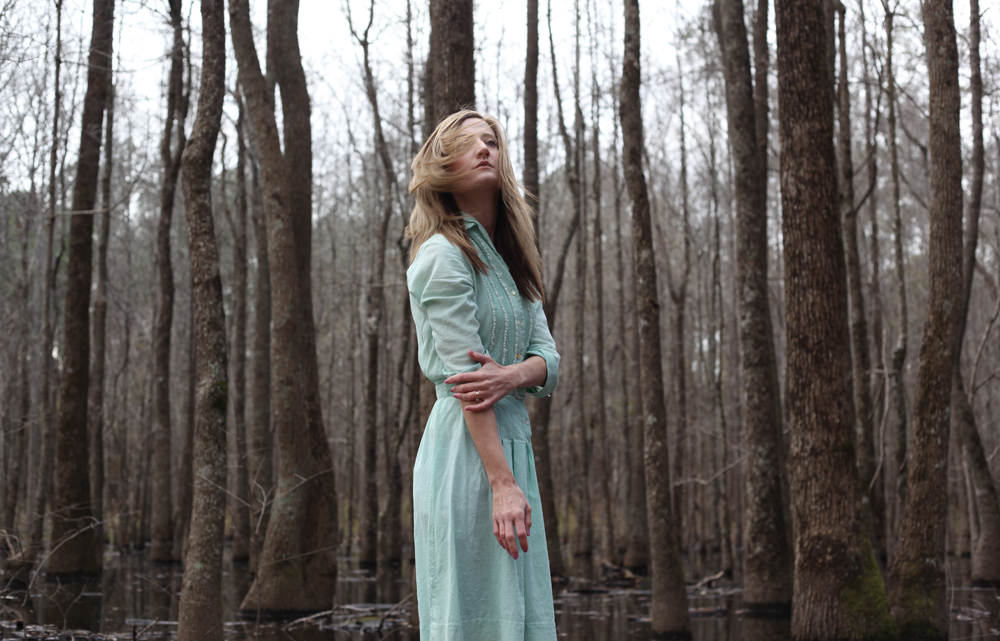
Looking at this image, you can see that it is a bit washed out, and lacking contrast. To adjust the Levels, select Image>Adjustments>Levels, and then you will see this screen:
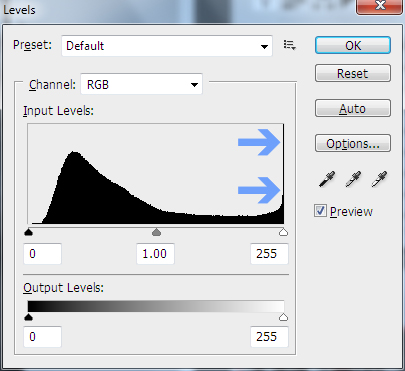
As you can see from looking at the histogram, we have an area of completely white highlights, represented on the far right of our histogram.
For printing, completely white highlights pose a bit of a problem. When an image with solid white goes through a printer, no ink will be put down in the areas that are white, which, if you are using a paper with any type of sheen to it (glossy, pearl, luster, etc.) the white areas with no ink will look patchy in your final print, so, if you are printing, the goal will be to reduce the amount of solid white in the highlights.
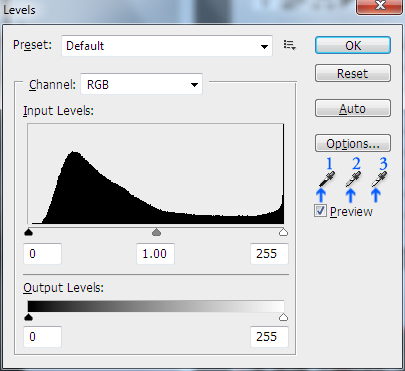
On the right side of the Levels dialogue box, you will find your dropper tools for 1) shadows 2) midtones and 3) highlights. Double click on the shadows dropper (1) and the following will appear:
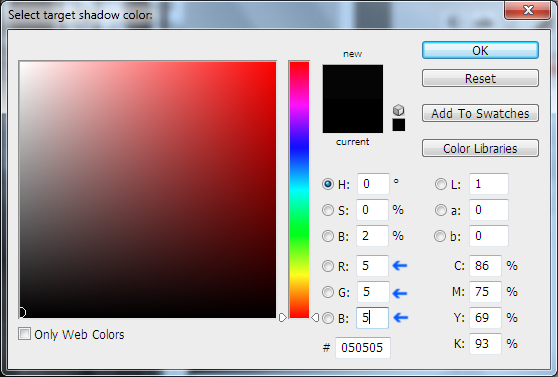
Photoshop automatically sets the shadows to solid black. However, we want our shadows to retain some detail and not be solid black, so, instead of having a 0 in the boxes labled R G B, type in the number 5 for each of the three boxes.
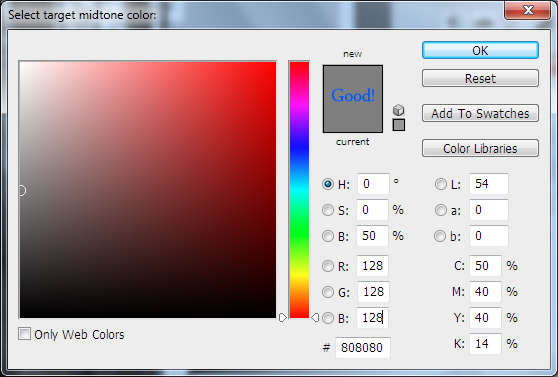
For the midtones (double clicking the 2 dropper), we want a neutral gray, so the color that Photoshop selects is perfect here, no need to change the values.
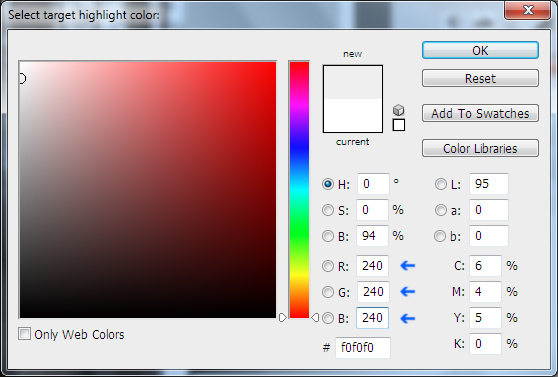
As I mentioned earlier, for our highlights (dropper 3), we do not want solid white, but instead, just a tiny bit of color. A value of 240 for the R G B boxes will do the trick for this image.
If you close your Levels adjustments, you will see the following message:
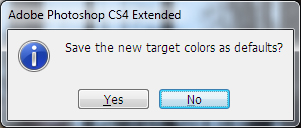
Photoshop gives you the option to save the colors you have selected, which is totally up to you. I generally allow Photoshop to save the target colors as my default to save time in future editing with the dropper tools.
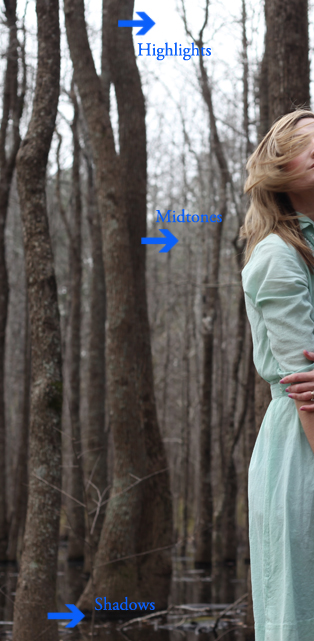
Next, double click on the shadows dropper (1) and hover over your image with the dropper tool in an area that contains shadows, then click once. Do the same with the midtones (2) and highlights (3) droppers.
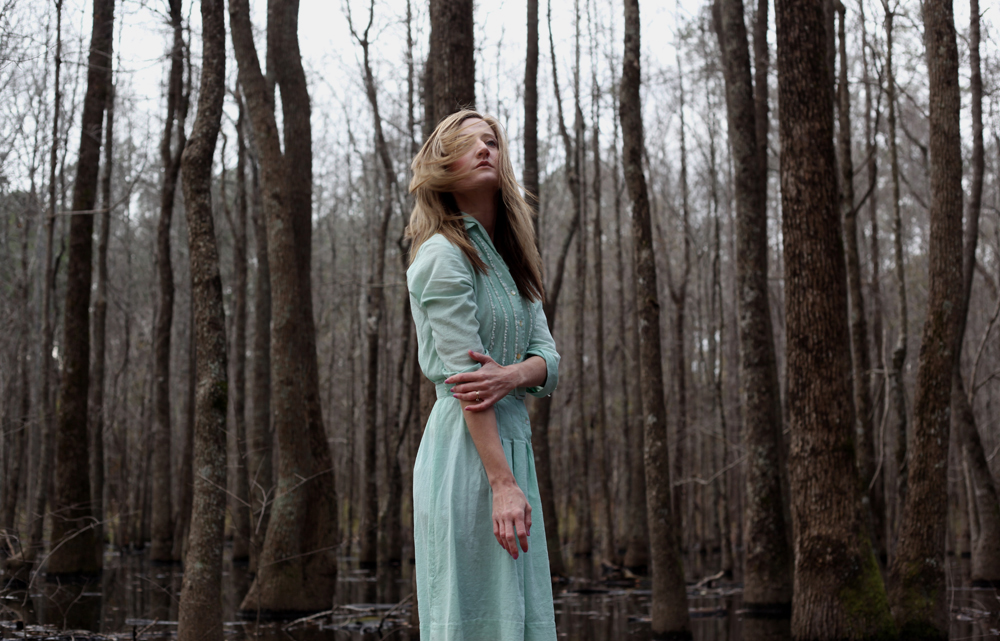
As you can see here, the adjustments we made were minimal in terms of number values inserted into the R G B boxes, but there is a good bit of difference, especially in contrast, between the before and after images. The after image is much richer than the before image.
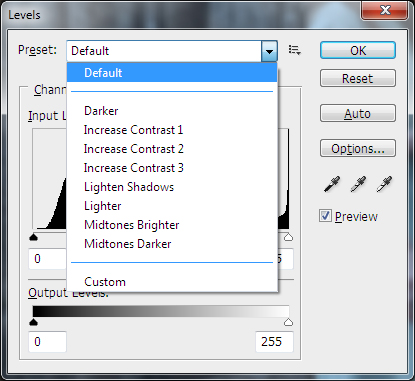
In addition to the dropper tools, Photoshop also has a set of automatic level adjustments that will help you achieve various tonal effects, so be sure to experiment with those, as well:
![]()
 About the Author: Anna Gay is a portrait photographer based in Athens, GA and the author of the dPS ebook The Art of Self-Portraiture. She also designs actions and textures for Photoshop. When she is not shooting or writing, she enjoys spending time with her husband, and their two cats, Elphie and Fat Cat.


