Have you ever converted your images to black and white in Photoshop, only for them to lose a lot of their luster in the process? If so, here are a few steps you can take to bring them back to life. The steps outlined here will work in Photoshop Elements, as well as Creative Suite.
Here is the color version of the image we will be working with:
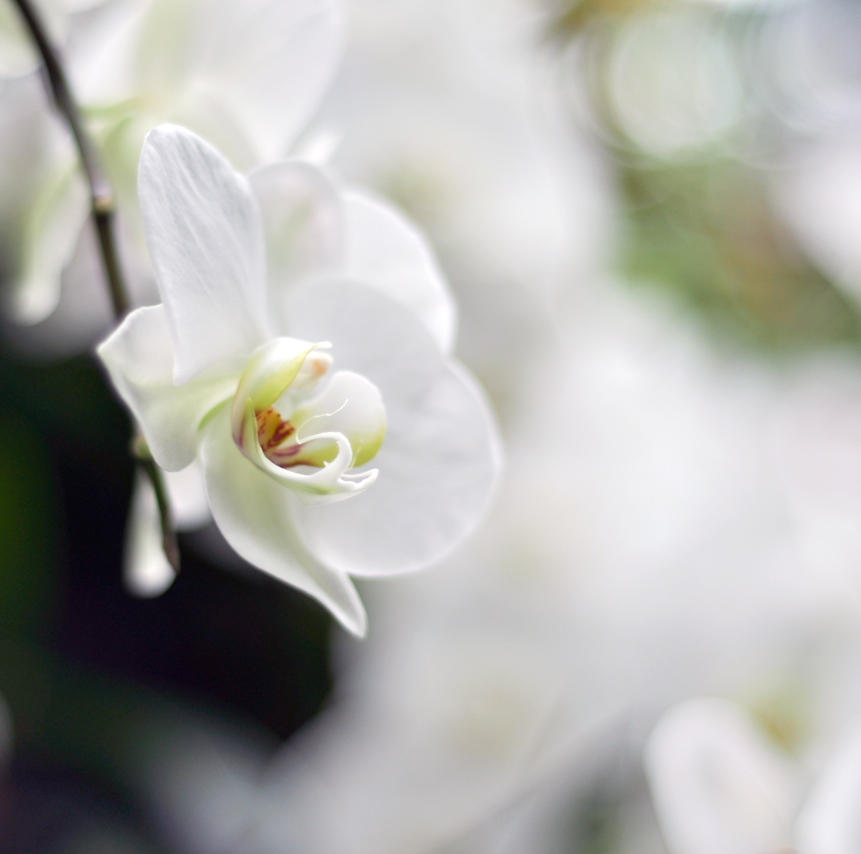
Now, there are many ways to work with B&W in Photoshop. The fastest way is to go to Image>Adjustments>Black and White. You will then see this screen:
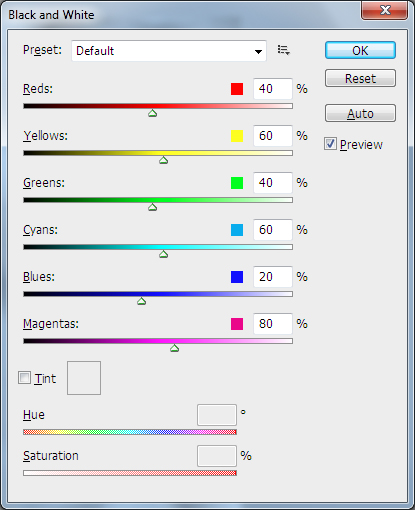
For the sake of keeping it simple, in this tutorial, we won’t go into the RGB and CYM channels. Instead, just press OK and go with the values that Photoshop assigns to your image.
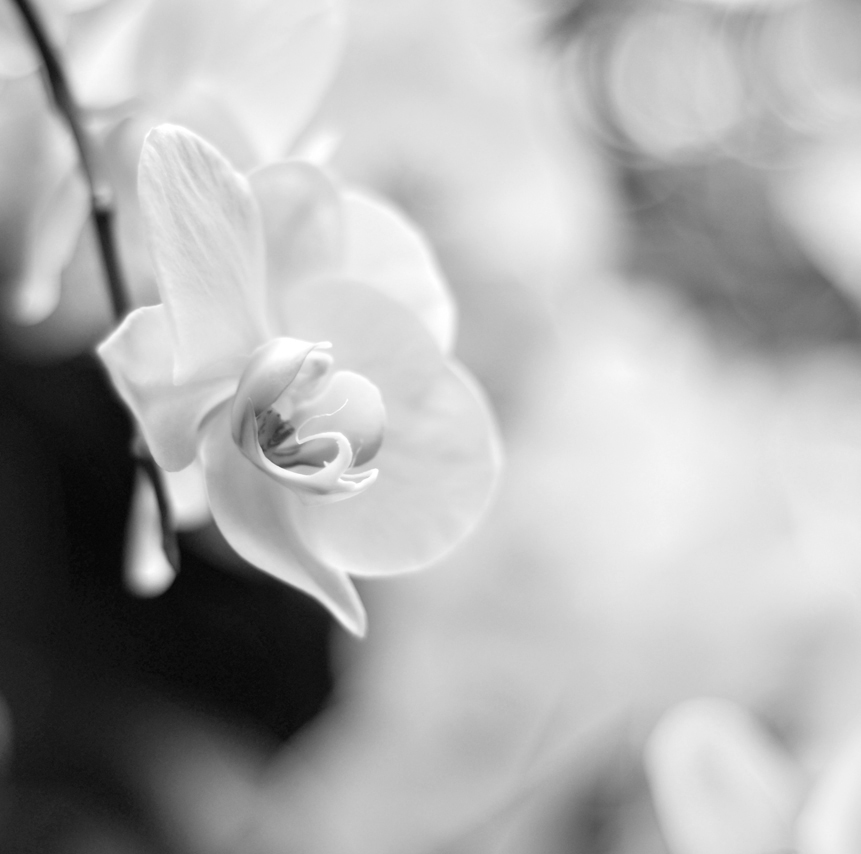
This is what the image looks like after it is converted to B&W. While it isn’t too bad, it could look better. The highlights are a little bit blown, and it could use a bit more contrast.
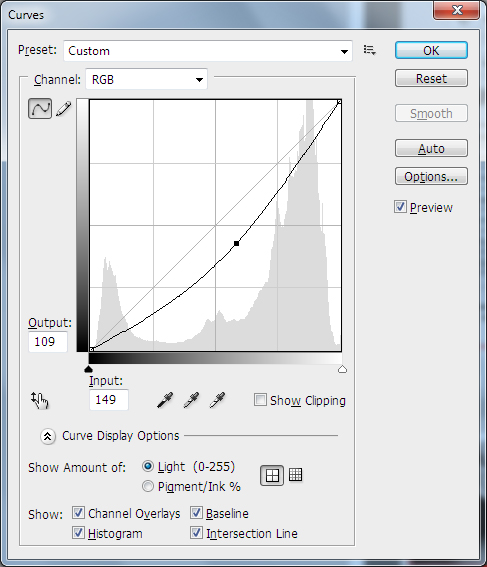
There are a few steps you can take to enhance your image at this point. First, create a new Curves layer by selecting Layer>New Adjustment Layer>Curves. You will then see the above histogram. If your image is too bright, like mine, gently drag the center of the diagonal line down, to the right, until you are happy with the results. The goal here is to keep your highlights as bright as possible, while still being able to see details in the highlights.
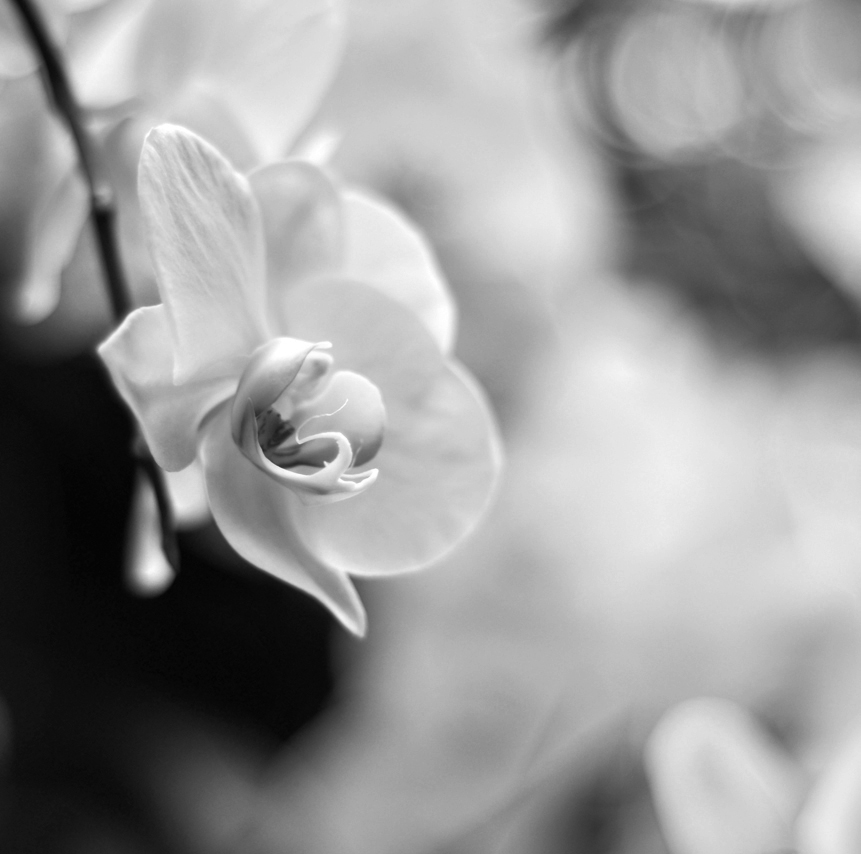
Now, we can fine-tune the shadows, midtones and highlights even further by creating a Levels adjustment layer. Select Layer>New Adjustment Layer>Levels, and you will see this:
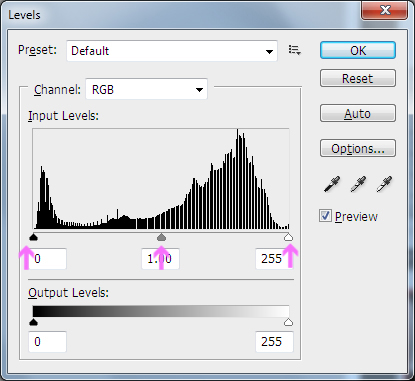
The sliders highlighted above control your shadows, midtones and highlight, respectively. Most likely, you won’t need to adjust them much.
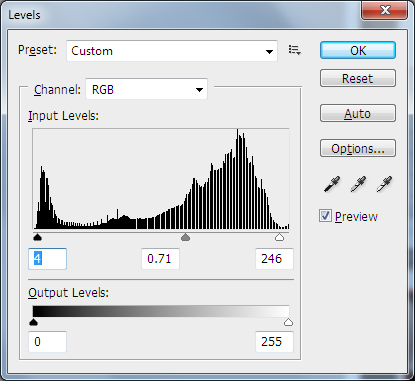
As you can see above, the most significant change was to the midtones, while the shadows and highlights were barely adjusted. This is because I did not want my shadows to be too dark, or to lose detail in my highlights by making them too bright.
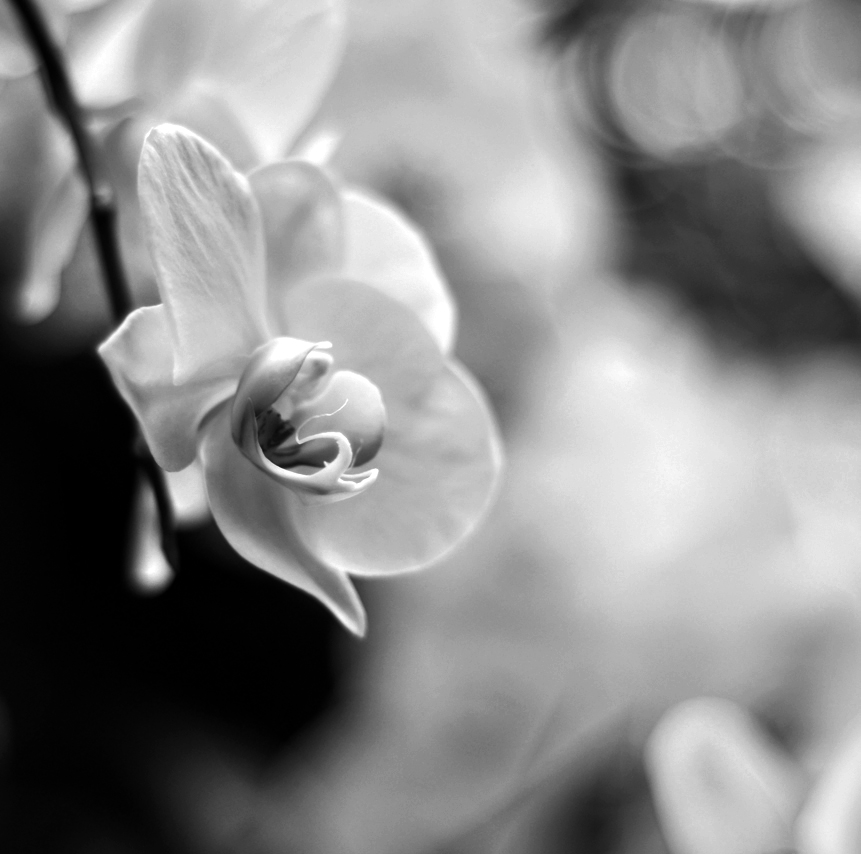
Here is what we’ve done to the image so far, but I’m going to make one more adjustment to it using Brightness/Contrast by selected Layer>New Adjustment Layer>Brightness/Contrast.
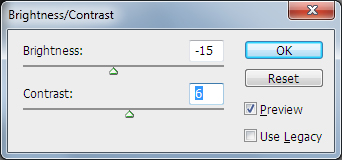
I still felt as though the image was too bright, so I took down the Brightness to -15 first, but, when I did that, I lost some contrast, so I boosted my Contrast slider to 6.
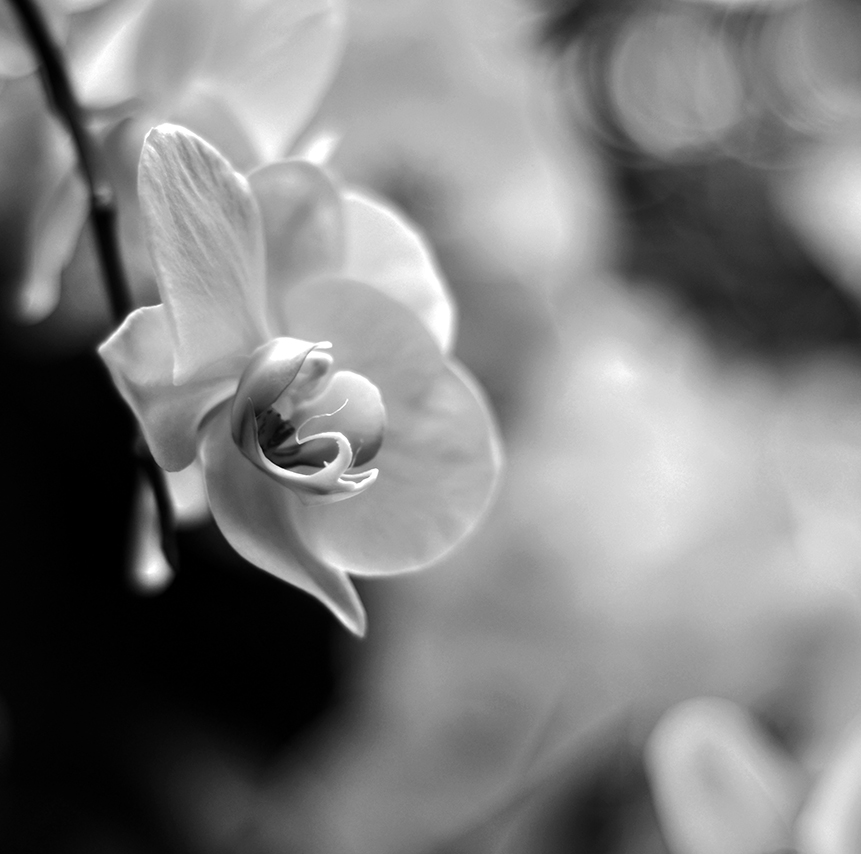
Above is a comparison of the image before, and after I finished editing.
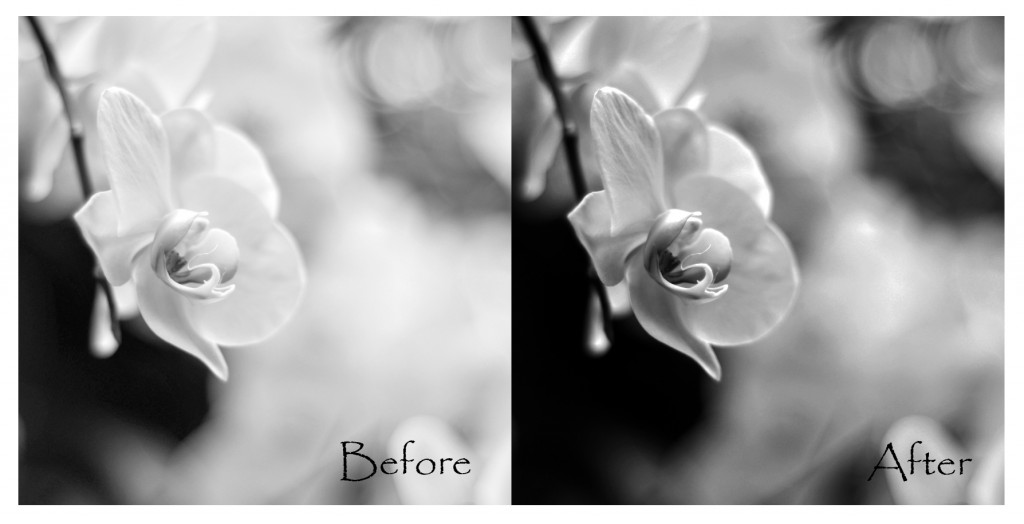
So, to recap: Curves, Levels and Brightness/Contrast and extremely useful in editing B&W images in Photoshop. As with any type of photo editing, the amount of adjustments you make will vary from photo to photo, so be sure to experiment if you are new to editing in Photoshop. Also, don’t be afraid to try pushing the values further than I pushed mine in this tutorial! You may find that, for some of your images, really dark shadows and bright highlights work better than trying to balance the two.
![]()
 About the Author: Anna Gay is a portrait photographer based in Athens, GA and the author of the dPS ebook The Art of Self-Portraiture. She also designs actions and textures for Photoshop. When she is not shooting or writing, she enjoys spending time with her husband, and their two cats, Elphie and Fat Cat.


