Today I put together a little video tutorial for you all. I hope it inspires you to open up photoshop and experiment a little with some textures on your own images.
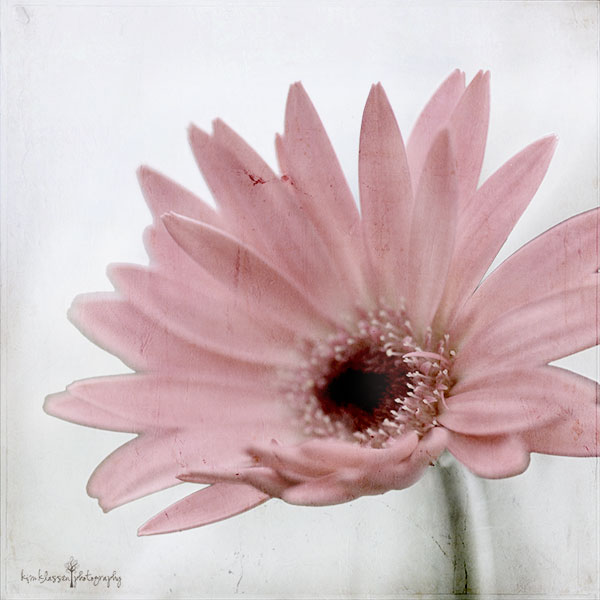
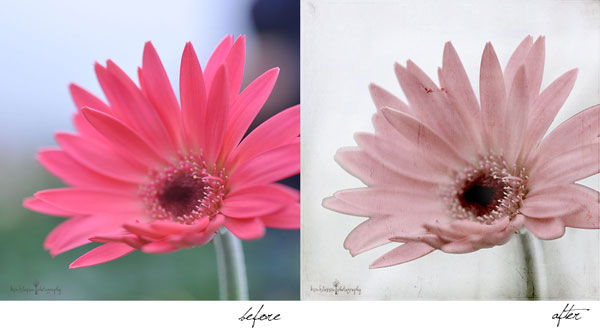
You can download a low-res copy of the textures I used in the video HERE. Both textures are part of my recently released Studio Collection.
![]()
 Kim is an artist turned crazy passionate photographer, living in a tiny Canadian town with her family and sweet love Ben, their Goldendoodle doggy. She’s crazy about her life… basking in the quiet solitude of her studio as she creates daily. Until recently her creative passion was painting. Then one day after a life changing event, her quiet little Nikon called to her. She will never forget their first true connection; a simple trip to the trail with camera in hand….wow…what a rush. Kim now combines her art and photography, creating painted textures for photo enhancement. It’s a perfect combination of digital and ‘get messy’ creativity. She shares her photography tips, tricks and techniques on her site, Kim Klassen Café.



Thank you so much for the Mac tip.. I did not know that. Your tutorial was wonderfully done.
Beautiful work. Thank you so much for sharing this with us. I am going to give this a go tonight with some tulips I shot.
I follow Beyond the Shot on FB
Hi Kim!
Thanks so much for this tutorial, it is really great!
Thank you so much!!
Awesome tutorial, Kim! Thanks! 🙂
just had to tell you a finally am posting something I’ve textured using one of yours. thank you so much for your tutorials. I love it and am calling it the TextureRabbitHole. My oh my is this addicting. (I knew it would be and that’s probably why I avoided it for all this time). Looked for this paperstained texture on Flickr but couldn’t locate it (sorry)
http://www.flickr.com/photos/cheyannesexton/5737685961/in/photostream/
Thanks for the wonderful learning I’m doing,
peace n abundance,
CheyAnne